Now that you have an idea of how to crop pictures, use templates and pocket pages, keep journal notes, and organize an album, you need just two more scrapbooking techniques and your basic toolkit is ready to scrap away! Those techniques are matting and journaling. Today, I’m going to hook you up with some great videos that show different ways to mat photos. They all work well and you can try them all…then pick the one you like best.
Why mat your pictures?
The main reasons are
- To make your picture the focus of the page and bring the viewer’s eye to the picture
- To distinguish your picture from patterned background; and
- To allow you to give depth to the overall page.
Let’s look at some examples. You’ve seen these before, but let’s look at how the matting affects how you look at the page.

In this example, the blue border and orange title bring your eye directly to the picture while the “fishies” swim around the edge.
 In this example, the yellow border distinguishes the photos from the bright dotted background. Even the title benefits from matting here…imagine how lost the word “solar” would be if it were floating on that bright dotted background!
 In this example, the multiple mats bring the pictures out of the page. Note that three narrow pictures are matted on the same mats, suggesting a sequence from left to right. I mounted the matted pictures on an angle to help promote the idea of motion from one picture to the next.
 Similarly, the three pictures on this page were matted an overlapped. This gives your eye a line to follow (from top left to bottom right) AND the black mats keep the three pictures distinct from each other.
Should mats be solid paper, solid card stock, or patterned paper?
All three can be used for mats as long as they are acid-free and lignin free. However, when using patterned paper to mat pictures, be sure the pattern doesn’t overwhelm the picture.
 For example, on this birthday page, I used the same yellow dotted paper for the title bar and to mat the pictures. If these were not closeups of faces, I would not have used such strong patterned papers all around them. Imagine if those pictures were long shots of kids on a playground or a teen on stage in a play…the picture could easily be “outdone” by the surrounding papers and mat! The great news is you can try it before you cut mats and use adhesive. Just lay the picture on the proposed mat paper, step back and take a look to see if the picture is enhanced or diminished by the matting paper.
Can you mat things other than pictures?
Yes! Look above at the SOLAR page…see the matted strip of flags at the bottom of the page? The black mat makes the flags stand out away from the background paper. In the birthday page above, the gift in the top right corner is matted, again to distinguish it from the background.
In the example below, I matted the border vine, double matted three stickers, and matted the title. Similarly, on the “Fish and Chips” page above, I matted the title. A fellow scrapper, Erin, taught me another trick. Sometimes you end up with a “hole” on your page. You don’t have another picture to add, your embellishments/borders don’t fit there…you just have a “hole” and the page looks unbalanced. Erin uses a layered mat (2-3 layers of solid and patterned paper) as a focal point, just as if there were a matted picture in that spot. Try it sometime! It works!

How do you mat a photo?
If you are using 4×6 photos and matting paper that is square or rectangular, matting a picture is very easy. Here are three short videos and a page showing three different techniques for cutting a mat for your photo. These demonstrate use of a paper cutter BUT remember you can do the same thing with a ruler, pencil, and sharp pair of scissors (see my previous blog entry for description of how AND for paper cutter examples).
- How.com: How to create photo mats
- The ART of Scrapbooking: Matting Your Photos For Scrapbook Layouts
- Scrapbooking 101: How to do Photo Matting for Scrapbooking Layouts
- Mat-a-Photo-for-a-Scrapbook-Page
Can you mat a picture cut in other shapes?
Yes, but it gets a little trickier. If you are using a jar, bottle, or bowl to draw a circle and cut your picture in a circle shape, you need to have another jar or bottle that is 1/8 to ½ in. larger diameter to draw the mat. Of course, it’s easier if you have a circle cutter or set of circle cutters and templates. You can get circles, ovals, diamonds and other shapes. Here are some examples:
")


Do you need to mat every picture?
No. You mat a picture for the three reasons above. Note that a mat will not protect your scrapbook from materials that are not acid-free. For example, you might have brochures, ticket stubs, theater programs, etc. that you want to include in your scrapbook. Just matting them does not provide full protection from any acid or lignin these may contain. The best solution is to use a protective envelope (such as Keepsake Envelopes) that will stick on your page (or to the mat you put behind it!). I do not use these regularly but I try to be careful to not put memorabilia on top of or touch pictures.
Hope that this gives you some ideas about matting your pictures!
Happy scrapping!
Marsha
Note: As always, I am sharing some products and links in this blog entry. I do not receive promotional consideration from any of the linked sources. I am a Creative Memories consultant but do not receive promotional consideration for including links in my articles…I am sharing products that I have found useful. If you are looking for a Creative Memories consultant, please feel free to access my page here.


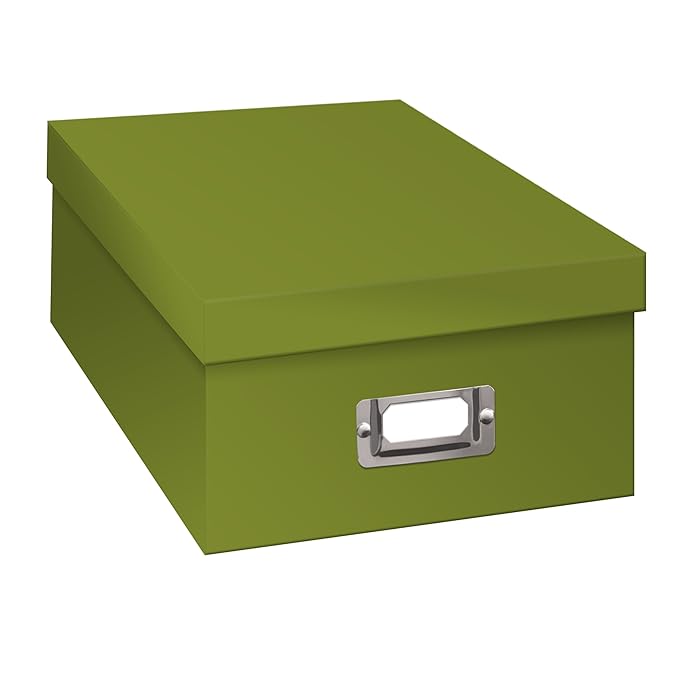 ANYWHERE: Michaels, Amazon, Target, Jo-Ann Fabrics, Container Store, Walmart, etc. Be sure they say “acid free.” You can get them in an array of colors and patterns so have fun with that! And the great part is you can use them for lots of things: photos, memorabilia, embellishments (stickers, etc.), supplies, etc. They stack nicely, have a labeling slot so you can re-label them easily. You can use them over and over each year or project. Or you can store pictures in them for long term storage. My only warning is to NEVER, EVER pay full price for these. They go on sale regularly. I usually get them at Michaels for $2 on sale; they are regularly $6-8 each.
 \
\ An Iris 6-case scrapbook cart


